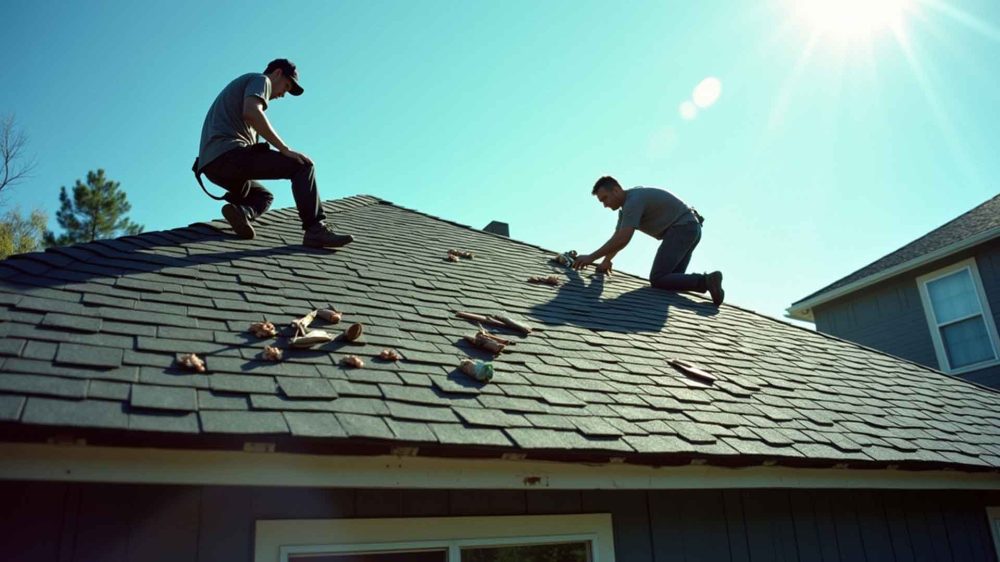
Replacing roofing shingles is a significant home improvement project that goes beyond aesthetics. A durable, well-installed roof protects your home from the elements, increases energy efficiency, and enhances curb appeal. Whether you are tackling a few damaged shingles or completing a full roof replacement, understanding the process and options available is essential for a successful outcome.
Signs It’s Time to Replace Shingles
Knowing when to replace your shingles can save homeowners from expensive repairs later. Some clear indicators include:
- Curling or Buckling Shingles: Shingles that are curling at the edges or buckling indicate they are nearing the end of their lifespan.
- Missing or Damaged Shingles: Storms, high winds, or falling debris can remove shingles, leaving your roof vulnerable to leaks.
- Granule Loss: Shingles shed granules over time. Excessive granule loss, visible in gutters or at the base of downspouts, signals aging shingles.
- Leaks or Water Damage: Interior signs of leaks or water stains on ceilings often point to compromised shingles or underlayment.
Addressing these issues promptly can prevent more extensive damage and maintain the structural integrity of your home.
Choosing the Right Shingles
One of the most exciting aspects of replacing shingles is the opportunity to update your roof’s appearance. Homeowners can select from a wide range of styles, textures, and colors. Atlas shingles colors are popular for their durability and aesthetic variety. They offer shades that complement brick, siding, and landscape features, allowing homeowners to achieve a cohesive exterior design.
When choosing shingles, consider:
- Material Quality: Asphalt shingles remain a top choice for affordability and performance. Architectural shingles offer enhanced durability and a layered look.
- Climate Compatibility: Shingles should withstand local weather conditions, including wind, rain, hail, or extreme temperatures.
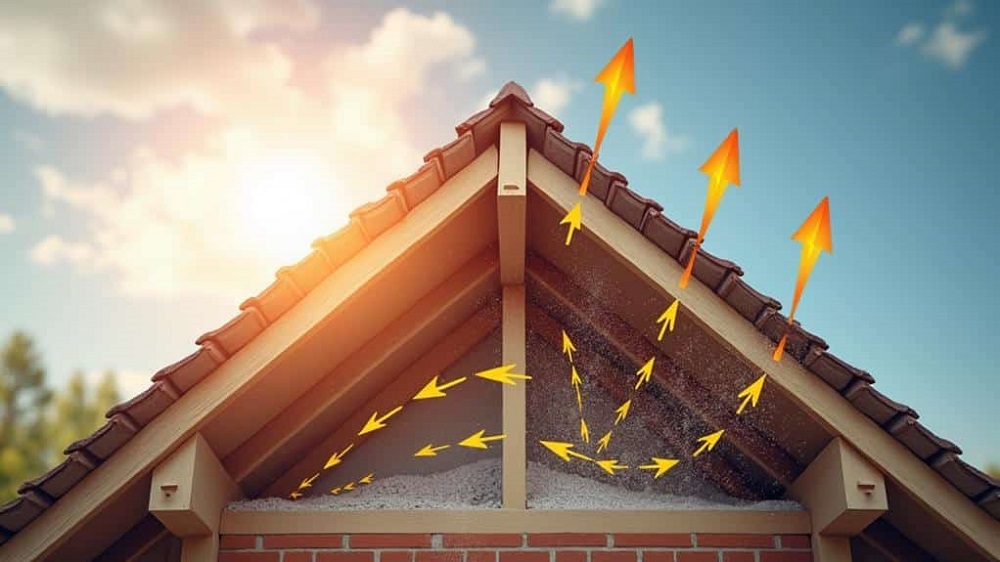
- Energy Efficiency: Some shingles are designed to reflect heat, reducing cooling costs during warmer months.
Investing time in selecting the right shingles ensures both functional protection and visual appeal.
Preparing for Shingle Replacement
Replacing shingles requires careful preparation to ensure safety and efficiency. Homeowners or contractors should:
- Inspect the Roof: Assess the overall condition, including underlayment and flashing.
- Gather Tools and Materials: Essential tools include roofing nails, a hammer or nail gun, a utility knife, and safety equipment.
- Plan for Disposal: Old shingles need proper disposal. Arrange for a dumpster or recycling service to handle debris responsibly.
- Weather Considerations: Avoid installation during heavy rain or extreme temperatures to prevent accidents and ensure proper adhesion.
A well-prepared worksite minimizes risks and accelerates the replacement process.
Step-by-Step Shingle Replacement
While professional installation is recommended for safety and warranty purposes, understanding the process can help homeowners make informed decisions. The basic steps include:
- Remove Old Shingles: Carefully strip away damaged shingles, nails, and underlayment.
- Inspect the Decking: Check for rot or damage and replace any compromised sections of the roof deck.
- Install New Underlayment: Apply a waterproof layer to protect against leaks.
- Lay New Shingles: Begin at the bottom edge, working upwards in overlapping rows. Use nails as directed to secure each shingle.
- Install Flashing and Ridge Caps: These components prevent water infiltration at roof intersections and edges.
- Clean Up and Inspect: Remove debris, check alignment, and ensure shingles are securely fastened.
Following these steps ensures a long-lasting, professional-quality roof.
Maintaining Your New Roof
Proper maintenance extends the life of your new shingles. Regular inspections can catch minor issues before they become costly problems. Recommendations include:
- Clean Gutters: Debris in gutters can trap water against shingles, promoting rot.
- Trim Overhanging Branches: Limbs that brush against the roof can cause damage or wear down shingles.
- Inspect After Storms: Check for loose or missing shingles after high winds or hail.
- Prevent Moss and Algae Growth: Apply treatments or zinc strips to reduce moisture-related growth.
Routine maintenance keeps shingles performing optimally and maintains your home’s visual appeal.
The Benefits of Choosing the Right Colors
Selecting the right color for your roof is more than an aesthetic decision. Atlas shingles colors offer a range of tones that can enhance property value, complement exterior designs, and even influence energy efficiency. Lighter colors reflect heat, keeping homes cooler, while darker colors provide a traditional look and may help with snow melt in colder climates. By thoughtfully choosing colors, homeowners can achieve a balance of style and functionality.
When to Hire a Professional
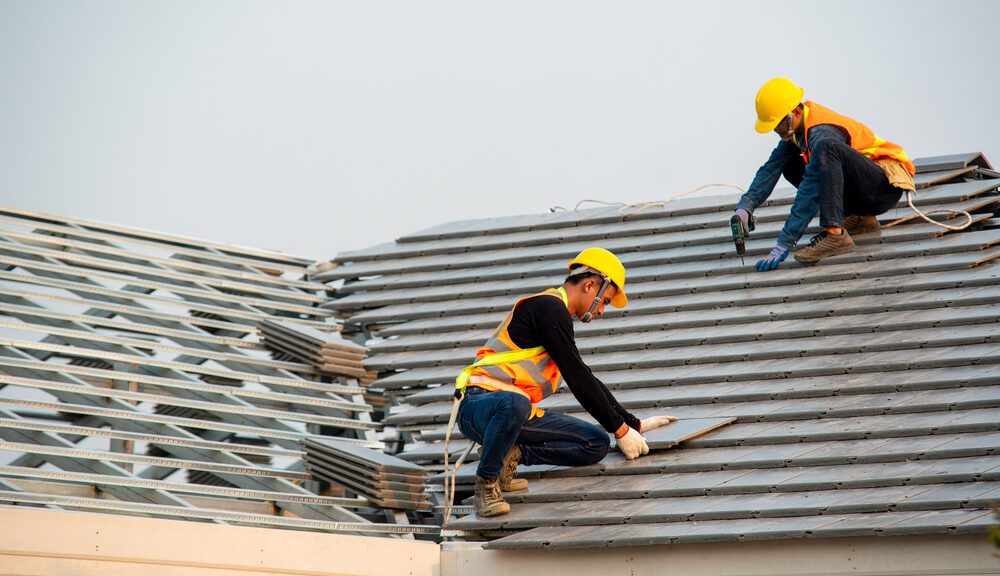
While some homeowners attempt DIY shingle replacement, hiring a professional often provides better results and peace of mind. Experienced roofing contractors bring:
- Expertise in material selection and installation
- Safe handling of tools and heights
- Warranty protection for labor and materials
- Efficient and timely project completion
For most homeowners, professional installation ensures durability and reduces long-term maintenance concerns.
Final Thoughts
Replacing roofing shingles is a crucial step in protecting and enhancing your home. From identifying worn shingles to choosing the right Atlas shingles colors, every decision contributes to the longevity, safety, and curb appeal of your property. Whether you choose to hire a professional or take a hands-on approach, understanding the process empowers homeowners to make informed choices and invest in a roof that will last for decades.